Online:Selene's Web
|
||||
|---|---|---|---|---|
| Group Dungeon | ||||
| Discoverable | Yes | |||
| Completion | Objective | |||
| Dungeon | Yes | |||
| # of Zones | 1 | |||
| Zone | ||||
| Jodewood, Reaper's March | ||||
| Location | ||||
| South of the Maw of Lorkhaj | ||||
| Instanced Dungeon | ||||
| Min Level | 34 | |||
| Group Size | 4 | |||
| Bosses | 3 | |||
| Mini-Bosses | 3 | |||
| Veteran Speed Run Target | 20 minutes | |||
| Loading Screen | ||||
|
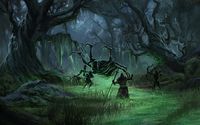
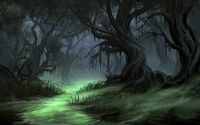
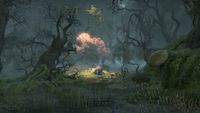
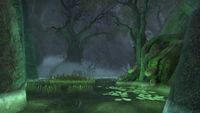
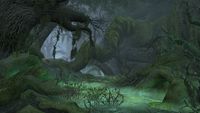
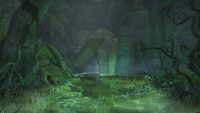
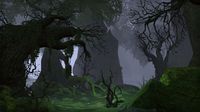
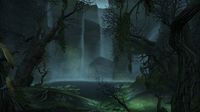
Even by the standards of Malabal Tor [sic], something is not right about the growth of the forest in this vicinity. It doesn't seem unhealthy—on the contrary, it seems vigorous, but in an unwholesome way.
|
||||
Selene's Web is a group dungeon found in Reaper's March.
Contents
A group of Mages Guild members led by Warlock Carindon are exploring Selene's Web in search of a mysterious forest spirit, and need protection from hostile natives and wildlife.
You can learn about its location from Thulga, Empress of Bone in Rawl'kha, Slays-By-Moon in Evermore, or Kailstig the Axe in Riften.
Related Quests[edit]
- Selene's Web Objective: Explore Selene's Web. / You helped the Mages Guild defeat Selene.
 Knowledge Gained: Help guide a Mages Guild expedition through a dangerous forest.

 Pledge: Selene's Web: Prove you are truly Undaunted by clearing Selene's Web.
Selene's Web Pledge: Explore Selene's Web and return Undaunted.(disabled since Patch 2.6.4)
Characters[edit]
|
Enemies[edit]
Normal Enemies[edit]
- Earth Menders, Root Guards and True Shots
- Hoarvors
- Selene's Daggers, Rangers, Roses, Savages, Shamans, and Thundermauls
- Senche Spirits
- Spiders
- Wolves
Minibosses[edit]
- Treethane Kerninn, a Bosmer warrior
- Queen Aklayah, a massive hoarvor
- Mennir Many-Legs, a Bosmer summoner
Bosses[edit]
- Longclaw, a Khajiit hunter and his senche daughters (Heartstalker, Nighteyes, Shadowhiskers, and Silentpaw)
- Foulhide, a giant bear
- Selene, a Bosmer changeling
Layout[edit]
Entrance[edit]
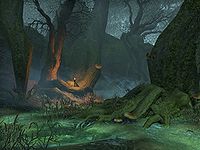
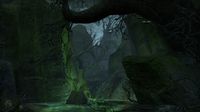
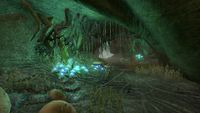
When you enter the dungeon, you'll find yourself in an exceedingly green cave overrun by moss, mushrooms, and overgrown roots. Warlock Carindon is here with a band of mages, standing around a Bosmer-style wayshrine beset by moss and hanging ivy. Exit the cave through the west to come upon the first group of Selene's Bosmer. Apprentice Patraud runs out to greet the Bosmer as you approach the cave's exit. They kill him in response, declaring the Mages Guild is unwelcome here. Thus begins your delve into Selene's Web. The first add pull consists of several Bosmer and a wolf.
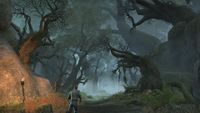
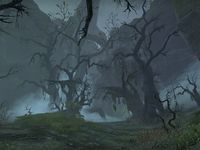
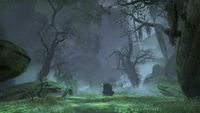
A pervasive mist fills the dense jungle in every corner of this dungeon. heavy sacks can be hard to see through all the green, or hidden among the twisting roots.
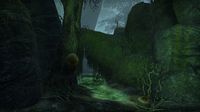
As you approach the first bend following the first enemy pull, surrounded by sheer cliffs, you'll see a massive root draping over the rock face on the right-hand side in an arc. Moss drapes from the root like a heavy curtain on both sides. A chest can spawn beneath this root, behind the shield of moss. Five Bosmer and a wolf are located in a tight crevice ahead. The way forward is defined by uneven rocky steps surrounded by gnarled green roots on the right side.
When you reach the clearing, you'll see Selene working on something. When she ascends to the forest's canopy, the first mini boss, Treethane Kerninn, will rise.
A Detour for Loot[edit]
There are two ways forward, but only one advances through the dungeon. Taking the northwestern path brings you to Longclaw's hunting grounds, while the northeastern path brings you to a pit. The skeletal corpse of someone named Elias lies at the bottom of the pit, next to their journal and a backpack. The space is lit by a glowing green bottle. A heavy sack can spawn to the right of this corpse.
There are two ways to get out of the pit: the easy way is to teleport to a group member, but there's also a way to get up without relying on group members. Head up the rocky incline heading northeast and jump up onto the next rock. Maneuver your way to the northernmost wall, then start moving along the rocks against the cliff heading west, eventually turning south and jumping back onto the cliff you likely fell from.
Longclaw's Grove[edit]
Heading northwest from the treethane's arena will allow you to progress further into the jungle. Another group of enemies (consisting of four Bosmer and a wolf) lies beyond a fallen log with moss draping down the side. You'll descend a rocky slope and cross a clearing devoid of enemies until you reach a sheer cliff. A chest can spawn on the east side of this cliff, beside a tall tree with a thick trunk.
You can jump off the cliff and into the pond below; a fall that you'll survive if you don't land on the shoreline because the water is deep enough to catch you safely. Alternatively, you can head to the east side of the cliff, to the portion that juts out the most, and carefully drop down onto a ledge along the face of the cliff, just below it to the west. From here, you can jump to a very mossy jutting ledge west of that one, and fall into the water at a much more manageable distance.
The first boss, Longclaw, is straight ahead. His arena is full of bear traps, which you can disarm at any time. The traps glow yellow if you sneak, making them more visible. A backpack lies at the base of Longclaw's tree. A heavy sack can spawn inside the eastern end of a fallen log at the base of the tree. A skeletal corpse hangs from a grey tree by its feet in a trap on the northeast side of the arena. A burnt corpse hangs upside down from a mossy branch over the path leading to the exit, which lies behind vines in the northern rock wall. You must interact with the vines to move them.
Mennir Many-Legs and Queen Aklayah's Clearing[edit]
You'll pass through a cave to get to the next part of the dungeon. The cave is illuminated by glowing blue flowers. The next group of enemies is not far from the tunnel's entrance. It consists of four Bosmer, a wolf, and a spider. Five Bosmer and a wolf lie a short ways south of this group. Three hoarvors and three spiders guard the tunnel's exit. At the exit, if you immediately head east, hugging the wall and squeezing past a boulder (or going around the boulder, between it and a bent tree), you can come across a spawned chest.
A giant hoarvor named Queen Aklayah guards the clearing ahead, sunlight filtering in through the canopy while falling leaves drift down to the forest floor. There are three hoarvors to the west, three to the east, and three more to the south. They will attack you during the fight against the queen. Vines block a passage to the north, but you can't pass them until you beat the next boss; the vines are shrouded in a green ward. You'll need to head southeast to defeat Foulhide before you can progress. When you return to this clearing after fighting Foulhide, you'll fight Mennir Many-Legs and her spider minions.
Foulhide's Cave[edit]
Traverse the southeastern tunnel. Two hoarvors and two spiders are located inside the tunnel, near the entrance. Three hoarvors and two more spiders await you around the bend. The next pull by the cave's exit is identical to the last: three hoarvors and two spiders. A chest can spawn between the cliff and the tree up the dirt hill you can climb if you turn left right after exiting the tunnel.
When you reach the clearing, you'll see Selene working away on a giant bear with her spindly legs: that's the next boss, Foulhide. Six Bosmer approach to stall you as Selene finishes her work, then ascends to the canopy. Selene's Roses will spawn around the edge of the partially flooded arena throughout the fight against Foulhide. A heavy sack and a chest can spawn in the back of the cave behind Foulhide.
Head back to Queen Aklayah's clearing to face Mennir Many-Legs and finally move on to final portion of the dungeon. Spiders, thundermauls and shamans will appear from the forest to face you as you approach. Once Mennir is dead, head through the vines to the north.
Selene's Sanctum[edit]
Five Bosmer, a wolf, and a spider await you within the tunnel ahead. Once you exit the tunnel, you'll descend a slope towards a giant hollowed out tree stump. Four hoarvors and five spiders guard this first stretch of terrain. The slope descends into a cliff overlooking a ravine. Five Bosmer, two hoarvors and two spiders guard the way to the stump.
You'll find Selene in the middle of a broad web inside the stump which she has made her sanctum. Egg sacs line the walls, clustered upon ledges and roots. The Scroll of Glorious Battle lies upon the web not far from the ivy covered wooden ledge you stand upon to peer inside the sanctum. There is nothing of interest on the edges of the web by the walls.
When Selene's health falls to 61%, she breaks the web, and you fall to the bottom of the hollow.
A chest can spawn beneath a large root growing into the western wall. A heavy sack can spawn by the exit.
Books[edit]
- Journal of Elias by Elias — The journal of a doomed traveler lost in the forest
- Soul-Trapping I: An Introduction by Warlock Elinyon — Musings on soul-trapping
Sets[edit]
| Set Name | Bonuses | Location(s) | Set Type |
|---|---|---|---|
| Vestments of the Warlock |
2 items: Adds 3-129 Magicka Recovery |
Selene's Web | Light Armor |
| Hircine's Veneer |
2 items: Adds 3-129 Stamina Recovery |
Selene's Web | Medium Armor |
| Durok's Bane |
2 items: Adds 28-1206 Maximum Health |
Selene's Web | Heavy Armor |
| Selene |
1 item: Adds 3-129 Weapon and Spell Damage |
Selene's Web | Monster Helm Sets |
Achievements[edit]
There are seven Achievements associated with this dungeon:
| Achievement | Points | Description | |
|---|---|---|---|
| Normal | |||
| Selene's Web Vanquisher | 10 | Defeat Longclaw, Foulhide, and Selene in Selene's Web. | |
| Veteran | |||
| Selene's Web Conqueror | 15 | Complete Veteran Selene's Web by defeating Treethane Kerninn, Longclaw, Queen Aklayah, Foulhide, Mennir Many-Legs, and Selene. | |
| All Wrapped Up | 50 | Defeat Selene in Veteran Selene's Web, after invoking the Scroll of Glorious Battle. | |
| Veteran Selene's Bosmer Slayer | 10 | Defeat 250 of Selene's Bosmer in Veteran Selene's Web. | |
| Veteran Selene's Spider Slayer | 10 | Defeat 250 Spiders in Veteran Selene's Web. | |
| Selene's Web Survivor | 50 | Defeat Treethane Kerninn, Longclaw, Queen Aklayah, Foulhide, Mennir Many-Legs, and Selene in Veteran Selene's Web, without suffering a group member death. | |
| Selene's Web Assassin | 50 | Defeat Treethane Kerninn, Longclaw, Queen Aklayah, Foulhide, Mennir Many-Legs, and Selene in Veteran Selene's Web within twenty minutes of starting the dungeon. Timer starts when players engage the first group of Bosmer. | |
Notes[edit]
- Selene's Web also appeared in Arena.
- Before dungeon scaling was introduced in Update 5, Selene's Web was designed for levels 40-43.
Maps[edit]
|
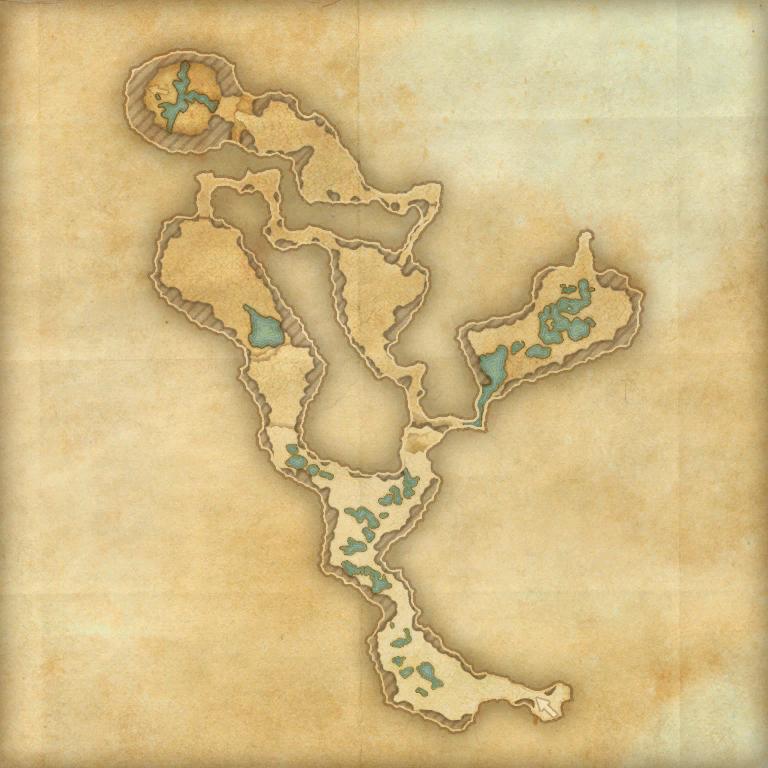
A map of Selene's Web
|
