Online:Dov-Vahl Shrine
|
||||
|---|---|---|---|---|
| Unmarked | ||||
| Discoverable | No | |||
| Occupants | ||||
| Captain Saulinia Euraxian Alchemist, Euraxian Knight, Euraxian Necromancer, Euraxian Soldier, Euraxian Spellblade |
||||
| Zone | ||||
| The Scar, Northern Elsweyr | ||||
| Location | ||||
| South of the Stitches | ||||
| Crafting Stations | ||||
|
||||
| Loading Screen | ||||
|
"A hidden Akaviri shrine in the Scar? Serving as the last sanctuary for the disgraced and disbanded Dragonguard after the assassinations of the Potentates? A place to keep their ancient traditions alive? I don't believe a word of it!"–Flaminius Auctor
|
||||
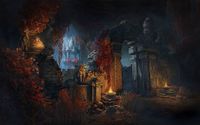
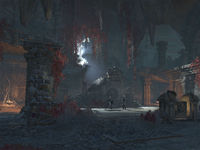
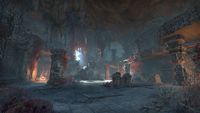
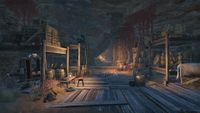
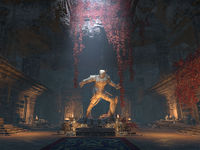
The Dov-Vahl Shrine is a hidden Akaviri shrine located in Northern Elsweyr's The Scar. It contains a Dragonguard sanctuary and what is believed to be the last Dragonguard. Euraxia Tharn dispatched an squad of Euraxians led by the feared Captain Saulinia to assassinate him.
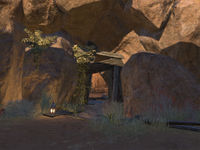
The location marked on the Northern Elsweyr Clothier Survey lies just outside the shrine's entrance. There are 13 tablets located in the shrine. Reading all of them will net you the Dragonguard Scholar Achievement.
Related Quests[edit]
 The Final Order: Protect a valuable ally from Euraxia's loyal assassins.
Residents[edit]
These NPCs only appear here during the related quest.
|
Layout[edit]
Dov-Vahl Hall[edit]
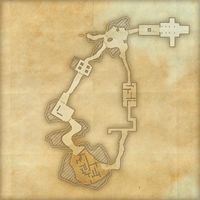
You will find several tablets in the shrine. Dread Their Return and Prepare lies in a nook to the west in the mouth of the passage leading south out of the first chamber. This hallway has poison dart traps and fire spouts in it, which are activated by pressure plates. The Euraxian corpses in the hallway are an indicator that traps are present. The plate at the entrance of the hallway activates the darts. Wait for the darts to fire from the two slots on the wall before moving forward; it will take ten seconds before they can fire again. All pressure plate-activated traps in the shrine work this way. Step on the plate, wait for the trap to fire, then pass through the hall after it stops. You'll encounter the lion-headed flame spouts after passing the darts. The pressure plate on the left activates the two heads on the left, and the one on the right activates the spouts on the right.
The Northeastern Spike Maze[edit]
The next tablet is upon a wall on the west side of the northern entrance to the next room, which is a stone maze full of spike traps. A Euraxian Alchemist lies behind the first wall, with spike traps east and south of them. If you head east then north past another spike tile, you'll find a Euraxian Battlemage and the next tablet, Gone from Sainted Memory. If you head south, you'll encounter two Euraxians near a small archery range.
If you move south from the alchemist and the second set of spike traps, you'll come across two pressure plates. The one on the left activates a lion flame spout south of the plates, and the one on the right activates the two dart traps on the wall to the left in front of you. A Euraxian Knight lies beyond these traps, next to a shelf full of dummies. The hallway ahead branches south and east. If you head south, you'll reach a dead end with a Euraxian Knight and Archer. The next tablet is on the southwestern wall. Heading east will allow you to progress to the next hallway. You'll find a Euraxian Spellblade and Alchemist here.
The next hallway is rife with spike traps. The next tablet, Journey to Endings, is at the southern end of this hallway. You'll need to move west to progress. You'll find a Euraxian Knight and Battlemage trapped at the far western side of the hallway, stranded behind four spike traps. A battlemage guards the hole in the wall leading to the next tunnel. The next tablet is on a section of wall to the right of the tunnel's entrance. A Euraxian Knight patrols the hall.
Southern Maze[edit]
The chamber to the southwest contains a maze made up of crumbling walls. Another tablet is hung on a wall to the left of the maze's entrance. You can head north or south at the beginning of the maze; either direction will bring you forward. There are no traps to the south. If you head north, you'll deal with pressure plates. The first pressure plate (on the left) activates a poison dart trap on the left wall. The first pressure plate on the right activates a poison spout trap on the far northern wall. The next two pressure plates are inactive; they're just here to make you tread lightly. Both paths take you to a corridor leading west.
The next wall is lined with training dummies. You'll need to move south, where the path branches in two directions. You can either keep heading south, or you can turn west. If you head south, you'll end up at the southern corner of the maze, and you'll pass by two spike traps, a fire spout and a pair of Euraxians along the way.If you head west, you'll come across a knight staring directly into a dart trap. There's a pressure plate between you and the knight. If you step on the plate, you can actually damage the knight with the darts. If you keep moving on this path, you'll see that it splits once again. You can head east or west; the west road leads you to spike traps and a dart trap (which block the way to the westernmost wall), and the east road has a knight on it. If you continue east, you'll come across an alchemist and another tablet mounted on a dais. If you travel to the western wall, you can either head north or south. The northern path leads you to the maze's exit, guarded by two Euraxians.
The southern path brings you to an open area with Euraxians and ballistae and training equipment, in the southern corner of the maze. There is a tablet on the wall to the east in the hall leading to this open area. Another tablet, Faith in Dust and Stone, lies at the easternmost wall, beneath a Khajiit guardian statue on the right-hand side.
Training Chamber[edit]
You'll pass through a tunnel leading northwest after you traverse the southern maze. The next tablet lies at the northeastern corner of the hallway, on a dais beneath a Khajiit guardian statue. The door beyond this statue leads to the training chamber, where you'll find Dragonguard Orland.
The edge of the training chamber is littered with spike traps. You'll fight Captain Saulinia here. In the center of the room, there are two pressure plates (one to the left, and one to the south) which activate a flame spout trap on a nearby wall. Orland exits the room through the northern door once Captain Saulinia has been defeated. You'll find yourself in a room full of training equipment. The tunnel to the north leads you back to the entrance.
Dov-Vahl Sanctuary[edit]
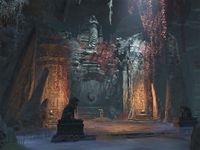
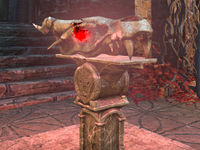
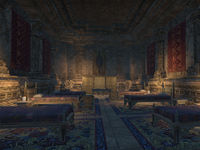
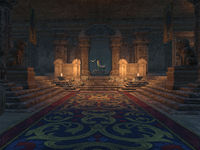
The sanctuary lies past the large door in front of the Dragon-skull key in the entrance hall. The Dragonhorn lies to the east, the kitchen (complete with a working cooking fire) lies in a small room to the north, and the Dragonguard living quarters are in an offshoot room to the south of the main hall.
Achievements[edit]
There are is one Achievement associated with this location:
| Achievement | Points | Description | |
|---|---|---|---|
| Dragonguard Scholar | 15 | Read all 13 Dragonguard plaques in the hidden Akaviri shrine known as Dov-Vahl Shrine. | |
