Oblivion:The Hate Tunnels
| Oblivion Caves: The Hate Tunnels |
|
|---|---|
| # of Possible Sections | 4 |
| Important Treasure | |
| No significant treasure can be found in these caves. | |
| Console Location Code | |
| OblivionRDCavesStart01 OblivionRDCavesStart03 OblivionRDCavesStart05 OblivionRDCavesStart07 |
|
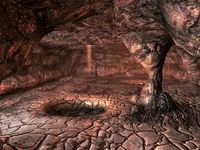
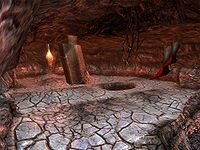
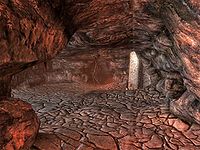
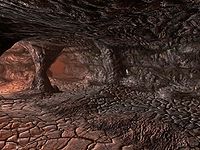
The Hate Tunnels is a collection of four cave sections, and part of the Random Oblivion Caves.
When entering a random cave from an Oblivion World, you will end up in either one of these four zones, or you will end up in one of the three Worm Gut Channels. All of these tunnels have a single entrance and a single exit. Where the exit leads to is determined randomly.
The Hate Tunnels (01)[edit]
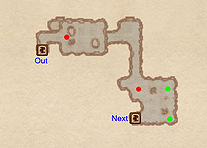
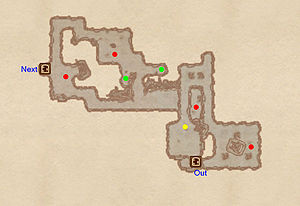
You start out in an empty area. Your only option is to drop down through one of the two gaps in the floor. This means that it is not possible to completely backtrack through this zone. Once you drop down you will encounter one Daedra. Proceed through the tunnels until you reach the next area. There you will encounter one Daedra, two Fleshy Pods and the door to the next cave section.
Occupants:
Treasure:
Doors and gates:
- There are two doors leading in/out of this zone
- 1 door (at Out) leads outside to the Planes of Oblivion
- 1 door (at Next) leads to the next cave section
The Hate Tunnels (03)[edit]
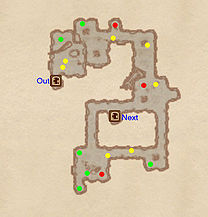
You start out in an area with a single Fleshy Pod in it. You need to drop down through the gap in the floor here. This means that it is not possible to completely backtrack through this zone. Once you drop down you will find another Fleshy Pod. Proceed through the tunnels, encountering Daedra and Harrada Roots on the way, until you find the door to the next cave section. You can decide to take a small detour here, and following the tunnel right of you. With only one other Daedra in your path, it is certainly worth the effort, as you will find four more Fleshy Pods.
Occupants:
Treasure:
Doors and gates:
- There are two doors leading in/out of this zone
- 1 door (at Out) leads outside to the Planes of Oblivion
- 1 door (at Next) leads to the next cave section
Plants:
- 7 (aggressive) Harrada Root plants marked by yellow dots on map
The Hate Tunnels (05)[edit]
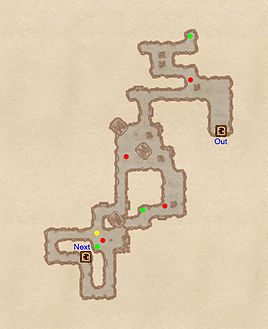
Start out by heading down the ramp straight ahead of you and keep following the tunnel. You will encounter two Daedra on the way. Once you see a tunnel to your right you can decide whether you wish to enter it. It's a detour with an extra Daedra on it, but it also leads to two Fleshy Pods. Eventually both routes will meet at the door to the next cave section.
Occupants:
Treasure:
Doors and gates:
- There are two doors leading in/out of this zone
- 1 door (at Out) leads outside to the Planes of Oblivion
- 1 door (at Next) leads to the next cave section
Plants:
- 1 (aggressive) Harrada Root plant marked by a yellow dot on map
The Hate Tunnels (07)[edit]
Walk straight ahead to find the first Daedra in this zone. Take the right tunnel to a dead end and a Fleshy Pod. Proceed through the other tunnel until you arrive at a crossing. Taking the right tunnel will lead you to an extra Daedra and a Fleshy Pod. Both routes will lead to the same area, containing a Daedra and another Fleshy Pod. From here you can either take the tunnel at your left or on your right hand, but it matters little. They both meet at the door to the next cave section.
Occupants:
Treasure:
- 3 Fleshy Pod Hanging
- There are two doors leading in/out of this zone
- 1 door (at Out) leads outside to the Planes of Oblivion
- 1 door (at Next) leads to the next cave section
Plants:
- 1 (aggressive) Harrada Root plant marked by a yellow dot on map

