Online:Zenithar's Abbey
|
||||
|---|---|---|---|---|
| Public Dungeon | ||||
| Discoverable | Yes | |||
| Completion | Dungeon Clear | |||
| Dungeon | Yes | |||
| # of Zones | 5 | |||
| Skyshards | 1 | |||
| Zone | ||||
| Blackwood | ||||
| Loading Screen | ||||
 "Think on the anvil, ye children of Zenithar. Like our beloved Divine, each of us must take up the hammer and tongs and shape a virtuous life. Only through sweat and toil shall we find contentment.— Ornelda Callonus, Priest of Zenithar
|
||||

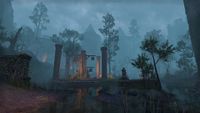
Zenithar's Abbey is a public dungeon and located across the river north of Gideon. This temple, dedicated to Zenithar, was formerly a large merchant hub and is made up of five sub-areas: Cloisters, Grounds, Trade Port, Bazaar, and Adytum.
The Replica Zenithar Adytum Gate furnishing is also available from this dungeon. It can be forged by collecting and combining 50 Inscribed Shards fragments that can drop from any mob.
Bosses have a chance to drop the Glass Skeletal Visage antiquity lead for the Gaze of Sithis.
Related Quests[edit]
- Zenithar's Abbey Objective: Help Daluion search for the lost Golden Anvil. / You helped restore the Golden Anvil of Zenithar's Abbey.
- The Golden Anvil: Recover a missing relic for a priest of Zenithar.
Characters[edit]
|
Enemies[edit]
Normal Enemies[edit]
- Bog Dog
- Dire Wolf
- Goblin Brewer
- Goblin Bruiser
- Goblin Shield
- Goblin Spitter
- Nereid
- River Troll Rockthrower
- Skeever
- Skeleton Sentinel
- Skeleton Shadow Mage
- Skeleton Spirit Master
- Skeleton Vanquisher
- Spirit Echo
- Venomspit Spider
- Websnare Spider
- Wisp
- Wraith
Elite Enemies[edit]
Bosses[edit]
- Arbitrator Tasellis
- Burthar Meatwise and Grapnur the Crusher
- Fulciinius the Bone Miser
- The Frigid Temptress
- Gloom-Tooth
- Ra'back the Trap Master (Group Event)
Books[edit]
- Bazaar Directory Rubbing — An old listing of shops at Zenithar's Abbey
- Esdir's Old Journal by Esdir — A merchant lord's journal
- Lovingly Written Note — A warning letter to someone's partner about goings-on at the Abbey
- Merchant Lords' Compiled Documents by Ralos, Quentin and Esdir — A compilation of collected incriminating documents
- Quentin's Secret Correspondence by Quentin — A merchant lord's letter
- Ralos's Charred Journal by Ralos — A merchant lord's journal
- Rebel's Faded Letter — Plans regarding the future of Zenithar's Abbey
- Tattered Trader's Log — A merchant's tirade against the old Arbitrator of Zenithar's Abbey
Layout[edit]
The entrance to the dungeon lies at the far western end of the map.
Zenithar's Abbey[edit]
Minotaurs loiter in this first area. If you head north from the start of the dungeon, you'll come across a fork in the road. A chest can spawn near a minotaur, between a shrine to Zenithar and a cluster of mossy barrels immediately northwest of this bend. If you take the path heading north, you'll find a door leading into the Grounds.
Grounds[edit]
River trolls, dire wolves, and goblins reside in the ruined grounds. A Rebel's Faded Letter is sitting atop a crate by a lamppost near the northernmost cliffs. A river troll, river troll rockthrower, and two bog dogs lurk within the quarry. A chest can spawn on the west side of the quarry. Gloom-Tooth is located in the northernmost portion of the grounds, in a cave outside the abbey walls.
A chest can spawn in the walled courtyard at the southeastern end of the grounds, between a lamppost and a rocky wall. The door to the Cloister lies at the southeastern end of this area.
Cloister[edit]
A skeleton clings to a heavy sack in a small walled shrine to Zenithar located north of the street that heads straight towards the ruined market. Undead monstrosities litter the bridge leading east towards the market.
The end of the bridge leading to the Bazaar is guarded by wraiths. A bone colossus rises from the pile of bones between the wraiths when you approach. The door to the bazaar lies on the east end of the district.
Bazaar[edit]
The Bazaar is the easternmost section of the dungeon. The ruined market is crawling with skeevers and the undead. Ralos's Charred Journal sits on a moldering cart near the western entrance. The Adytum can be accessed from this district. Fulciinius the Bone Miser is located in the northeastern courtyard.
Esdir's Old Journal sits atop an old alchemist's stall on the side of the road, located south of Fulciinius' courtyard and very close to the easternmost wall. Quentin's Secret Correspondence is located in the southeast end of the district, on the web-covered floor of a fur-trapper's stall. Skeletal wolves, horses and guar sleep in cages here. There are also a few caged daedrats and gristlewings here.
The Black Market is accessible from a wooden door at the southern end of the Bazaar. A chest can spawn in the southwestern corner of the Bazaar, near the door to the Trade Port.
Adytum[edit]
Black Market[edit]
Ra'back the Trap Master lairs here.
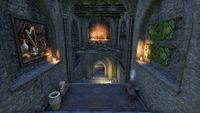
There's a bear trap at the top of the stairs when you first enter the area. The walls are decorated with fine tapestries, and lush red carpets are scattered across the stone floors. A stone staircase leads you down into the trap master's dwelling, where you'll find another bear trap in a small side room with a map and several tables. The halls ahead are trapped: you'll contend with floor-bound spike traps and flamethrowers embedded in the walls. A lever past the first set of spike traps can be pulled to disarm the flame jet.
In the large eastern chamber, you'll be met with a decoy before facing the trap master herself. She activates the flame wells in the ground, which you can disarm by pulling the glowing lever.
Trade Port[edit]
Achievements[edit]
There are two Achievements associated with this location:
| Achievement | Points | Description | |
|---|---|---|---|
| Zenithar's Abbey Group Event | 50 | Defeat Ra'back the Trap Master in Zenithar's Abbey. | |
| Zenithar's Abbey Conqueror | 50 | Defeat all of the champions in Zenithar's Abbey. | |
Notes[edit]
- From outside, one can see Wraiths flying overhead and Minotaurs patrolling the battlement.
- Under the long bridge in the Cloister section of the Abbey you can see a locked up skeleton banging against the locked gate, trying to get out.
- Zenithar's Abbey appears in Oblivion as Fort Teleman.
Maps[edit]
-
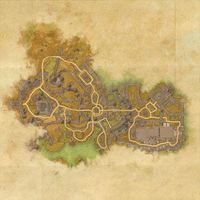
Map of Zenithar's Abbey
-
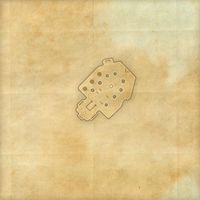
Map of the Adytum
-
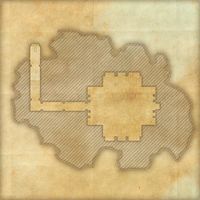
Map of the Black Market
-
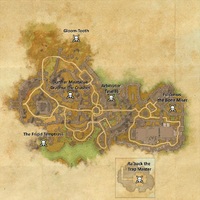
Boss locations


Gallery[edit]
-
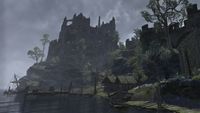
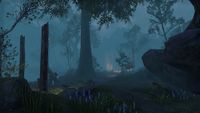
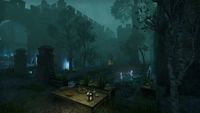
Zenithar's Abbey viewed from the riverside
-
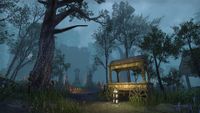
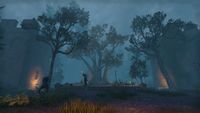
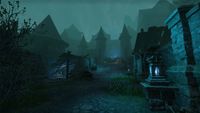
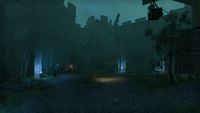
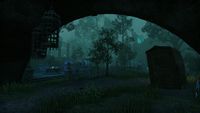
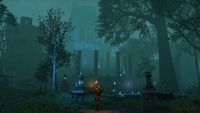
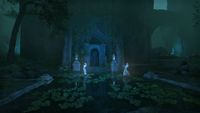
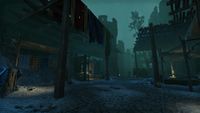
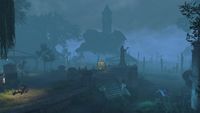
The foggy courtyard
-
The foggy courtyard
-

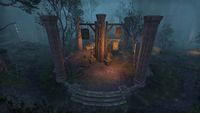
A shrine to Zenithar in the abbey
-
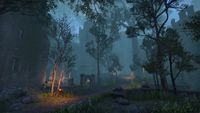
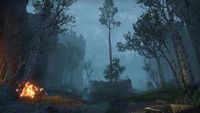
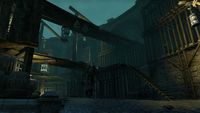
The Grounds
-
The Grounds
-
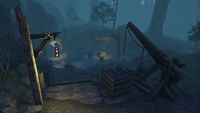
An artisanal quarry in the Grounds
-
The Grounds
-
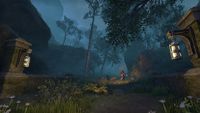
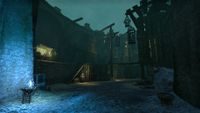
The Cloister
-
The Cloister
-
The Cloister
-
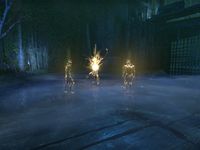
Arbitrator Tasellis and his echoes
-
A shrine to Zenithar located in the Cloister
-
The guild plaza in the Cloister
-
The Cloister
-
The Cloister
-
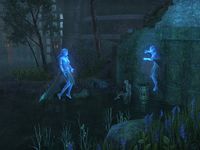
Nereids in the Cloister, near the door to the Trade Port
-
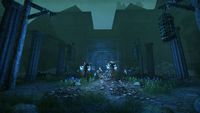
The Cloister: the end of the bridge leading to the Bazaar is guarded by wraiths
-
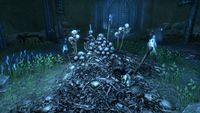
The bone pile at the east end of the Cloister
-
Black Market
-

The Bazaar
-
The Bazaar
-
The Bazaar
-
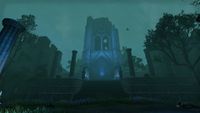
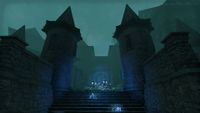
The Adytum viewed from the Bazaar
-
Skeletal mages perform rituals beneath the Adytum
-
Fulciinius the Bone Miser can be seen disturbing the dead from beneath the overhang
-
The Bazaar
-
The Bazaar
-

The Bazaar
-
The Bazaar
-
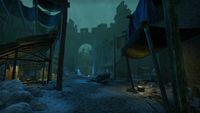
The Bazaar
-
The Bazaar
-
A Bone Colossus stalks the animal market
-
Black Market
-
Black Market
-

A trapped hallway
-
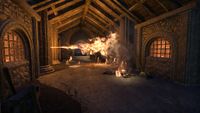
The flame jets beyond the first set of traps can be disarmed by pulling a lever
-
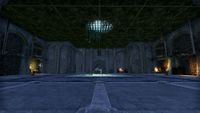
The trap master's lair
-
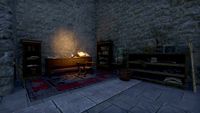
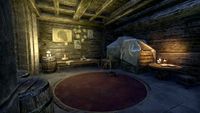
The trap master's study
-
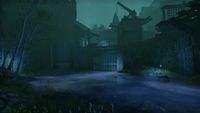
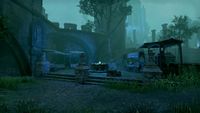
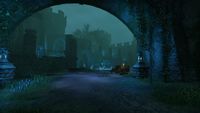
The foggy former Trade Port
-
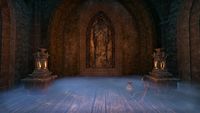
The Golden Anvil inside the Adytum


